| BEFORE + AFTER | 500 Main Street – Part 3.
From the mudroom to the left [remember the laundry room is to the right] is the kitchen and it was basically a gut job.
Part of the overall delay was my indecisiveness on cabinetry. Initially I expected to simply paint the existing cabinets, build a small one next to the stove, and replace countertops but there were so many problems and by the time we labored over them, it wasn't worth it.

RECAP
What was wrong…
◾ Everything was yucky to be truthful
◾ Space between the countertop and the uppers was only something like 15″, when standard is 18″
◾ Stove cabinetry was missing
◾ Dishwasher was too far away from the sink
◾ Of course, wallpaper, flooring, fixtures
◾ Did I mention, the counters had floor sticky tile on them
So, we replaced everything and I went over budget. It was important to utilize the ceiling height and keep the cabinetry to the ceiling. I wanted to install solid surface countertops which we could have done laminate to save money, but I didn't want to deal with the seams and requirements for the corner sink.
Once I knew we weren't saving the cabinets, I him-ed and hah-ed over what to pick. Do we get ready to finish [where we install and paint], ready to assemble [where all of the pieces come in a box and you place each panel together], or semi-custom from somewhere like Cabinets to Go?
I knew I wanted a stained finish. Design wise, there were hardwood floors in the remaining parts of the home so I chose the tile look luxury vinyl for the other flooring [one should not mix multiple wood “look” floorings next to each other, completely match it or be complimentary] and I wanted to bring the warmth in the cabinets to the space.
++ I knew if I had picked white cabinets, the painter in me would have wanted to caulk every seam and I feared we wouldn't be able to make any touch ups in case of an accident.
Ultimately we ended on a product from Home Depot and I'm really pleased with their quality and will use them again! The drawers were dovetailed and soft close along with the doors. They were available in 42″ to reach the ceiling AND had the right setup for the corner sink.

RECAP
What we did…
◾ Gutted the cabinetry, they were SOLID and assembled on site when the home was built by Goebel Fixture Company [if you're from the area, ya recognize that]
◾ Patched the ceiling where needed and from the removal of the large florescent light
◾ Painted
◾ Installed cabinets > countertops > backsplash
◾ Flooring
◾ Brought in appliances
Before


WALLS: We removed wallpaper and painted – the color is Agreeable Gray.
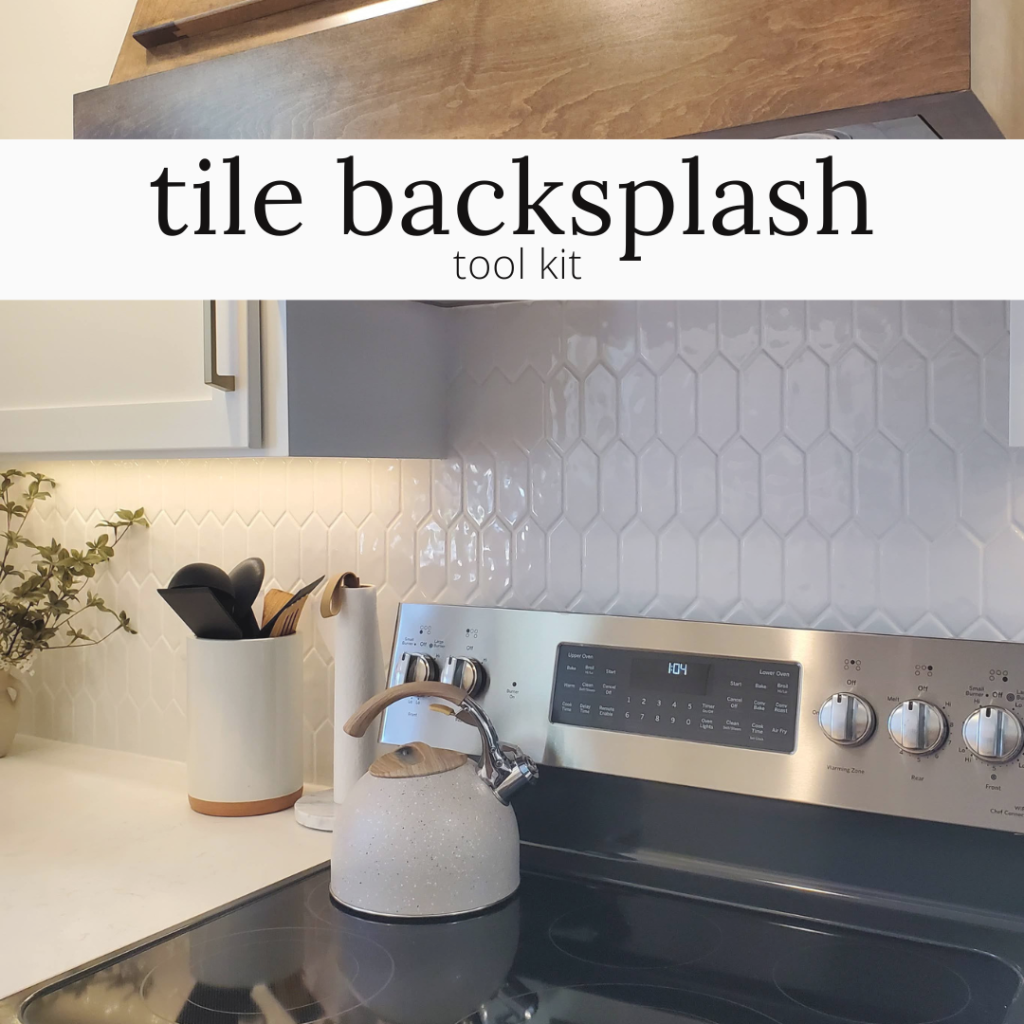
CABINETRY & COUNTERTOPS: We installed the cabinets, countertops and backsplash.
FLOORING: We kept with the same process we did for the laundry room and mudroom previously. We peeled up the tile, repaired what needed to be repaired, and oil primed all of the subfloor. We then installed my favorite flooring to work with from Mannington Floors.
During


after


TOOLS + MATERIALS
COSTS
- Primer + Paint: $150
- Cabinetry: $5,575
- Countertops: $4,200
- Backsplash: $150
- Sink: $500
- Faucet: $230
- Flooring: $1,950 includes kitchen, laundry, bath
- Appliances: $3,400
- Lighting: $100
COLORS + FINISHES
- Walls: Sherwin-Williams Agreeable Gray
- Millwork: Sherwin-Williams Arcade White
- Flooring: Mannington Arctic Frost
- Cabinetry: Soleste Assembled Cabinets Spice
- Countertops: Calacatta Luna
- Backsplash: 3X6 Subway Tile
- Cabinet Hardware: Matte Black Drawer Pull
- Cabinet Hardware: Black Drawer Cup Pull