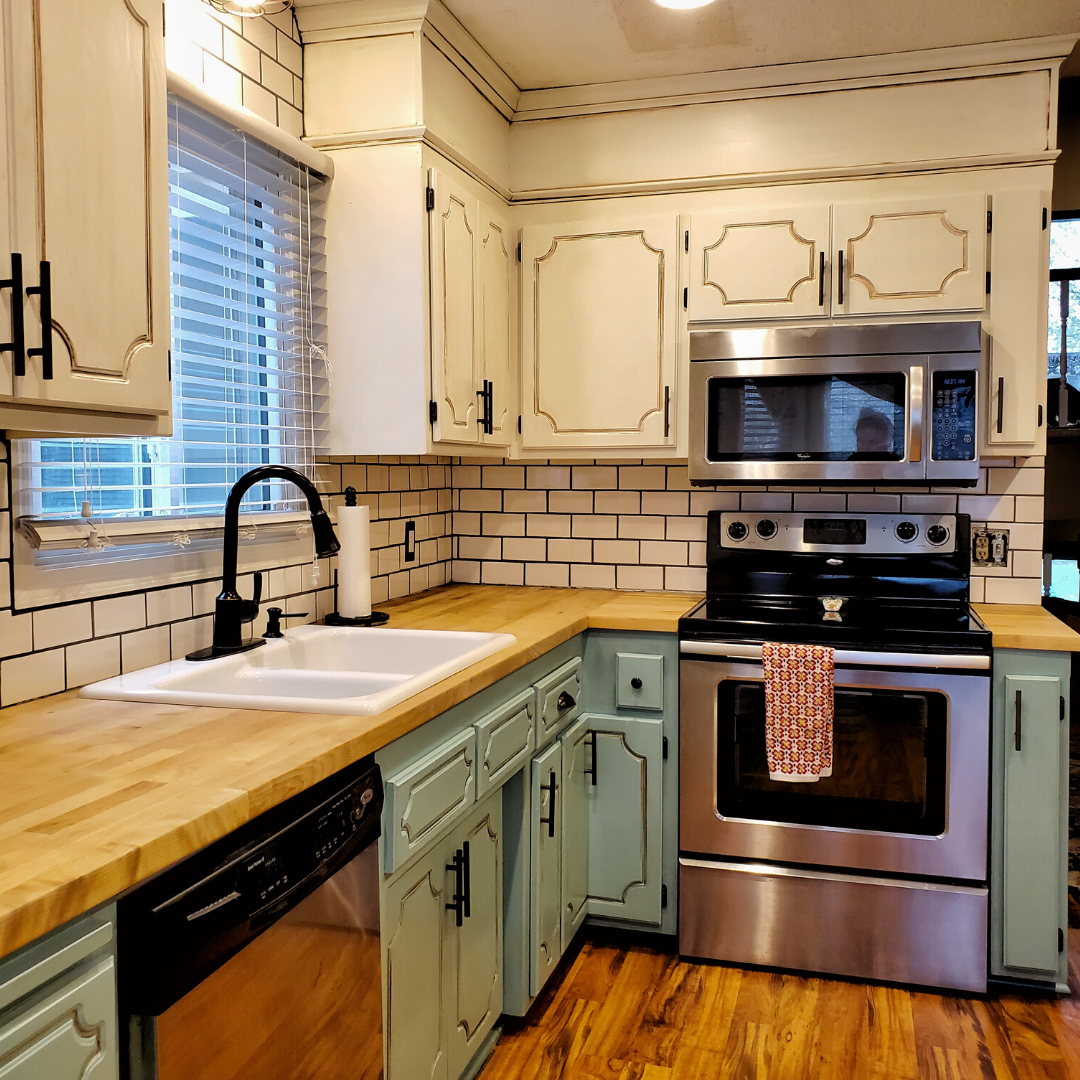
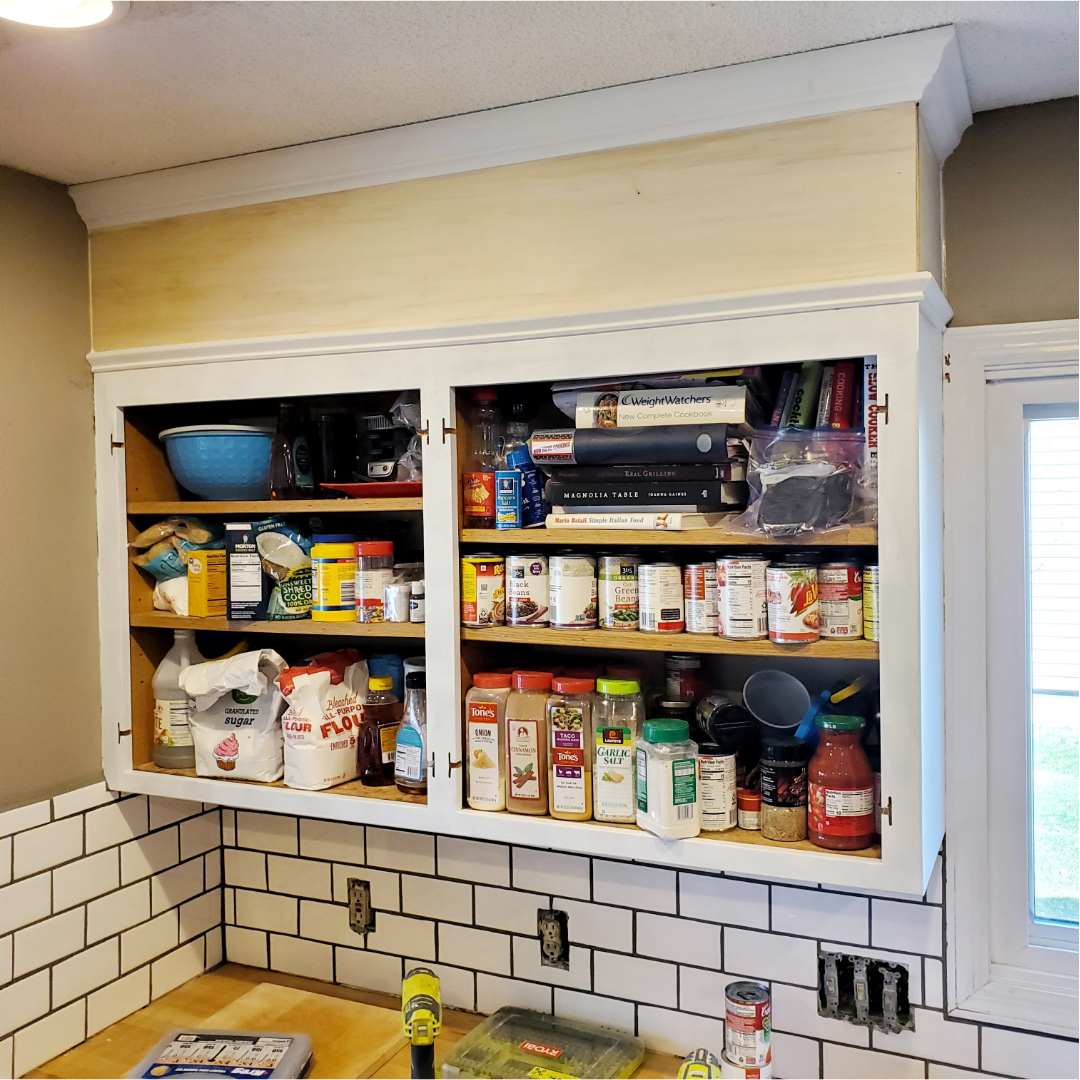
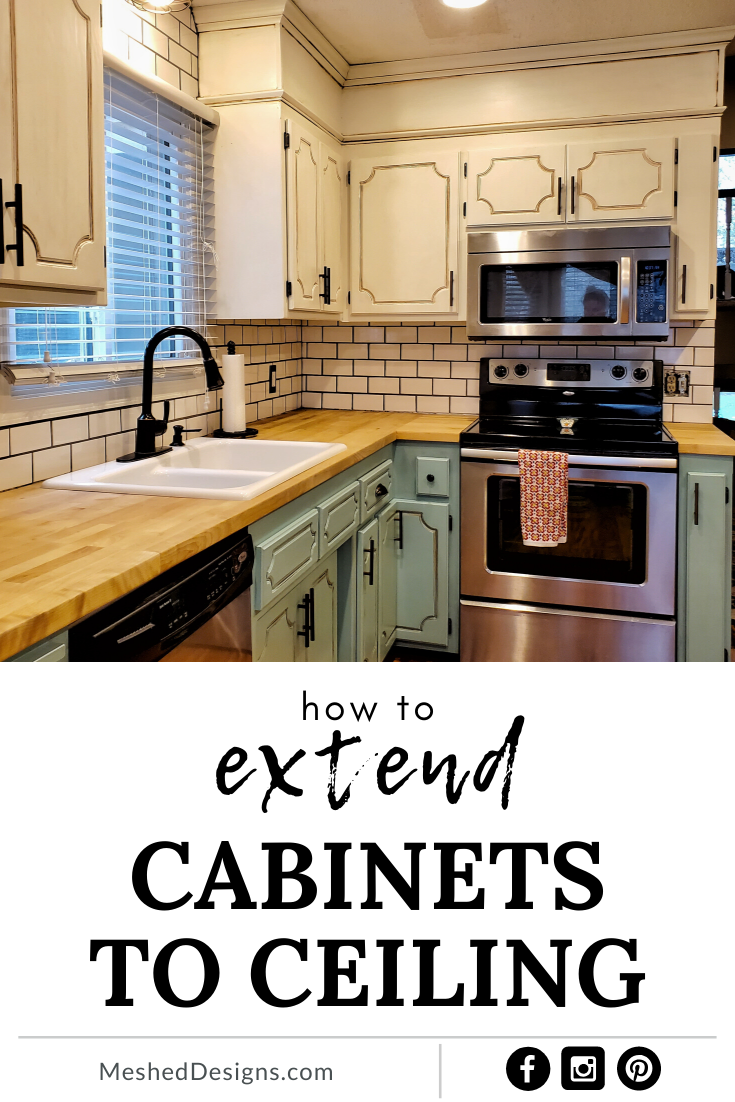
Who has a love-hate relationship with the space above their cabinetry?! This can be a difficult space to decorate and dust plus it can make your kitchen feel “short” overall.
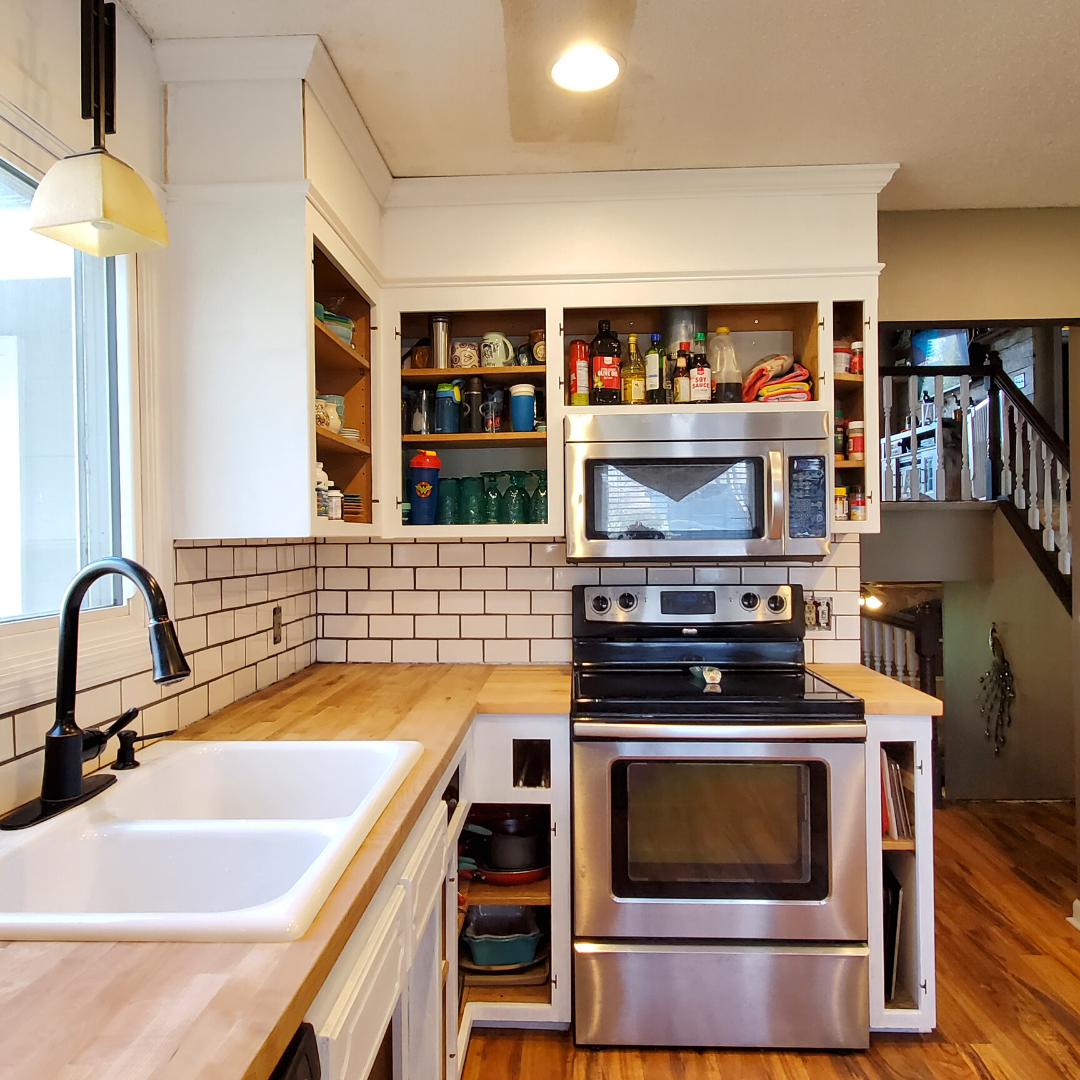
Building out the soffit area above will visually bring your eye up and make the room feel a whole lot larger!
TOOLS
- Tape Measure
- Small Pry Bar
- Hammer
- Nail Gun
- Table Saw
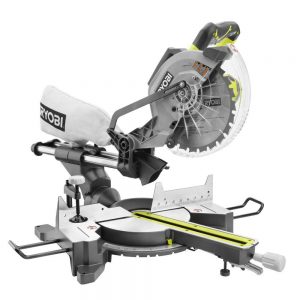
- Miter Saw
- Level / Straight Edge
- Right Angle Drill Adapter – optional
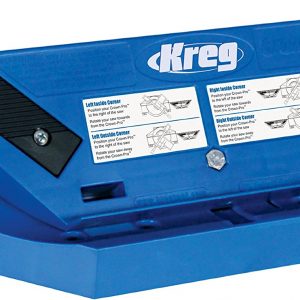
- Kreg Jig – optional
- Molding Jig – optional
SUPPLIES
- 1/4″ Sanded Plywood
- 2″ x 2″ Lumber
- 2″ Screws
- Crown Molding
- Mid Molding
- Outside Corner Trim
- 1.5″ Finish Nails
- Wood Filler
- Sand Paper / Sanding Block
- Paintable Caulk
- Primer
- Paint
1. Planning
Plywood
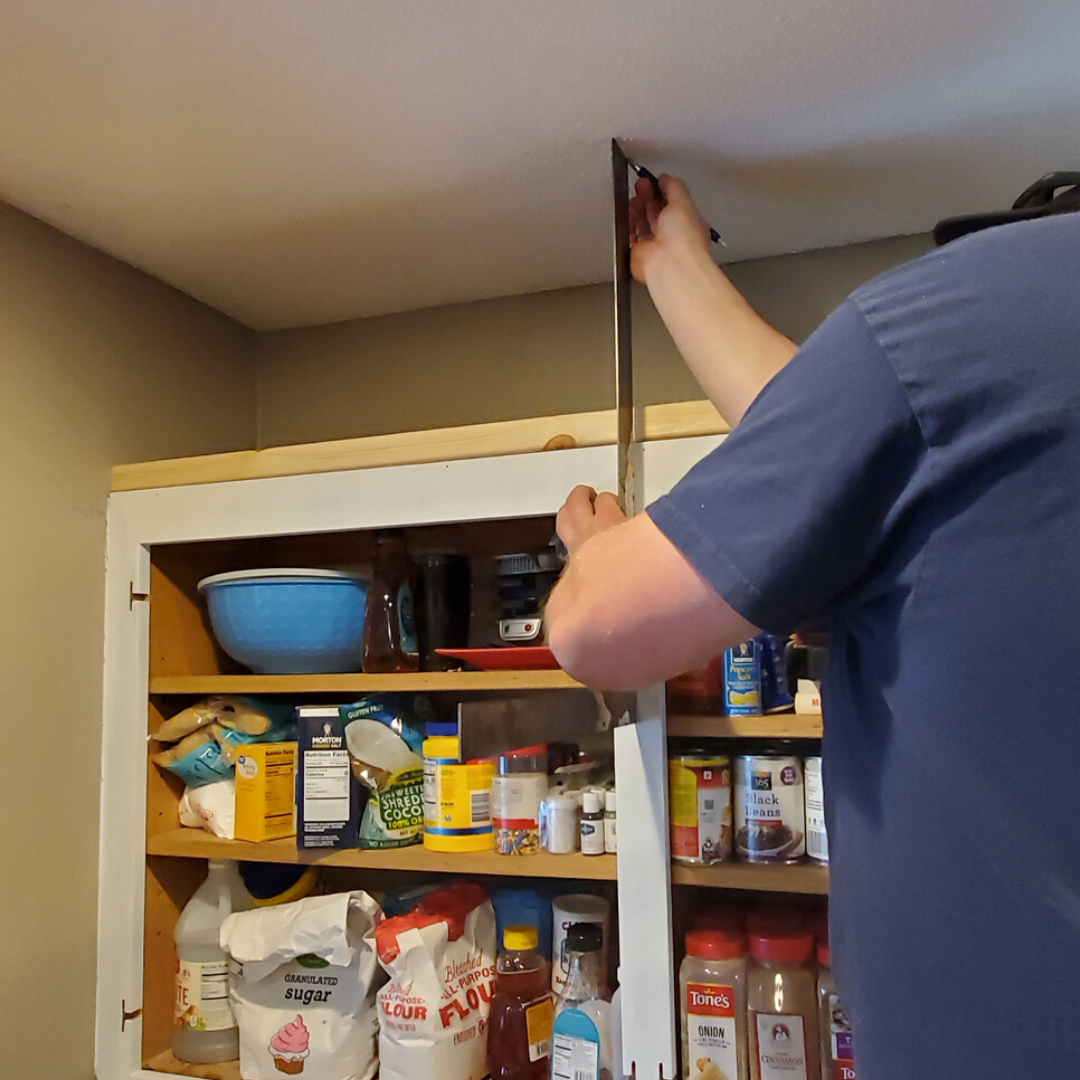
Measure the length of your cabinetry along with the height to the ceiling. This will determine how much plywood and 2 x 2 framing you need.
Plywood typically comes in 4′ x 8′ sheets so when I measured this kitchen to the ceiling it was roughly 12″ which meant I could get three strips of plywood out of every sheet.
I didn't have any seams from piecing it together so I made sure the 8′ length could be cut down for the long parts and sides as individual pieces.
If your length is longer than 8′, you'll need to fill the gap and sand it smooth.
Molding
The length measurement you got above with be the amount of molding you need. I suggest a bulkier fancy molding for the ceiling and a basic, thinner molding for the middle area where your cabinetry stops and your filler begins.
You'll also need corner molding for any outside corners.
Framing
The length x2 plus height x a support every corner, end, and 16ish inches will determine how much 2 x 2 framing you need.
So if I have an end cabinet that is 6′ long a standard 18″ deep and the height to the ceiling is 12″, my calculation would be:
(6′ x 2) + (18″ x 2) = 15′ [top and bottom framing]
6′ / 16″ = 4.5 [how many supports I need in the 6′ length]
plus a support for both walls and one in the corner for a total of 7 supports @ about 10″ each taking into consideration the thickness of the top and bottom pieces.
2 x 2 comes in 8′ lengths so I would need 3 boards.
2. Demo
Remove any old molding or vend covers that are in the way using the pry bar and dispose of it.
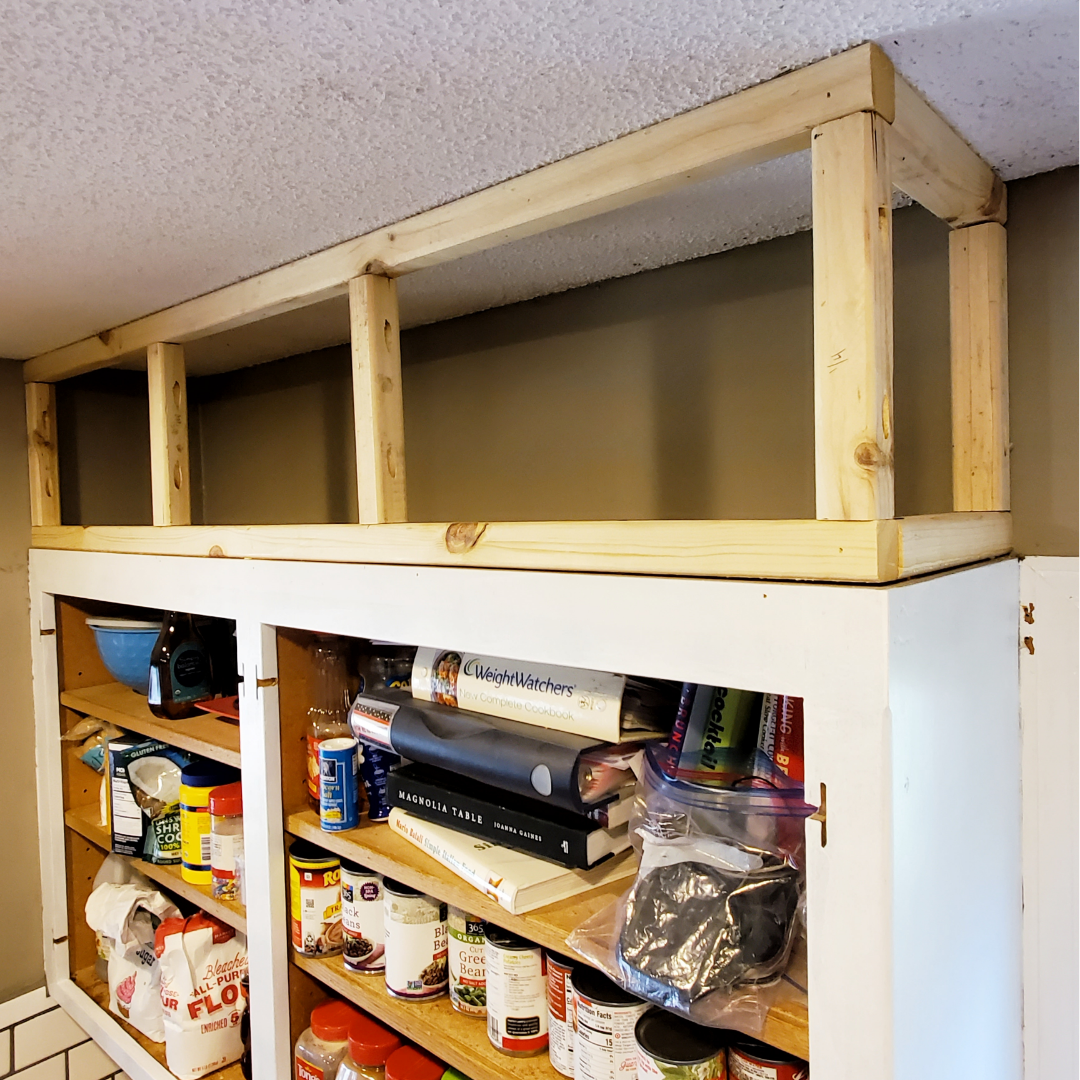
3. Framing
- Cut the top and bottom pieces to length
- Install the bottom by measuring 1/4″ in from the edge of your cabinet and attach with your screws. Caution not to go through the top of your cabinets!
Leaving the 1/4″ gap will allow the plywood to be flush with your cabinets.
- Using a straight edge, line it up against your cabinets to the ceiling, mark it. Then measure a 1/4″ towards the wall and mark it. This inside mark will be where your top framing needs to line up. Then attach.
Next, you'll add the verticles.
- Measure the lengths you need for each edge, corner and every 16ish inches.
- Cut 2 x 2s to those lengths and drill kreg jig holes on each end.
If you don't have a kreg jig, you can angle your screws manually, just keep them on the sides and not the front. - Screw the vertical supports to the top and bottom pieces. You may need a right angle drill adapter if the space to your ceiling is short.
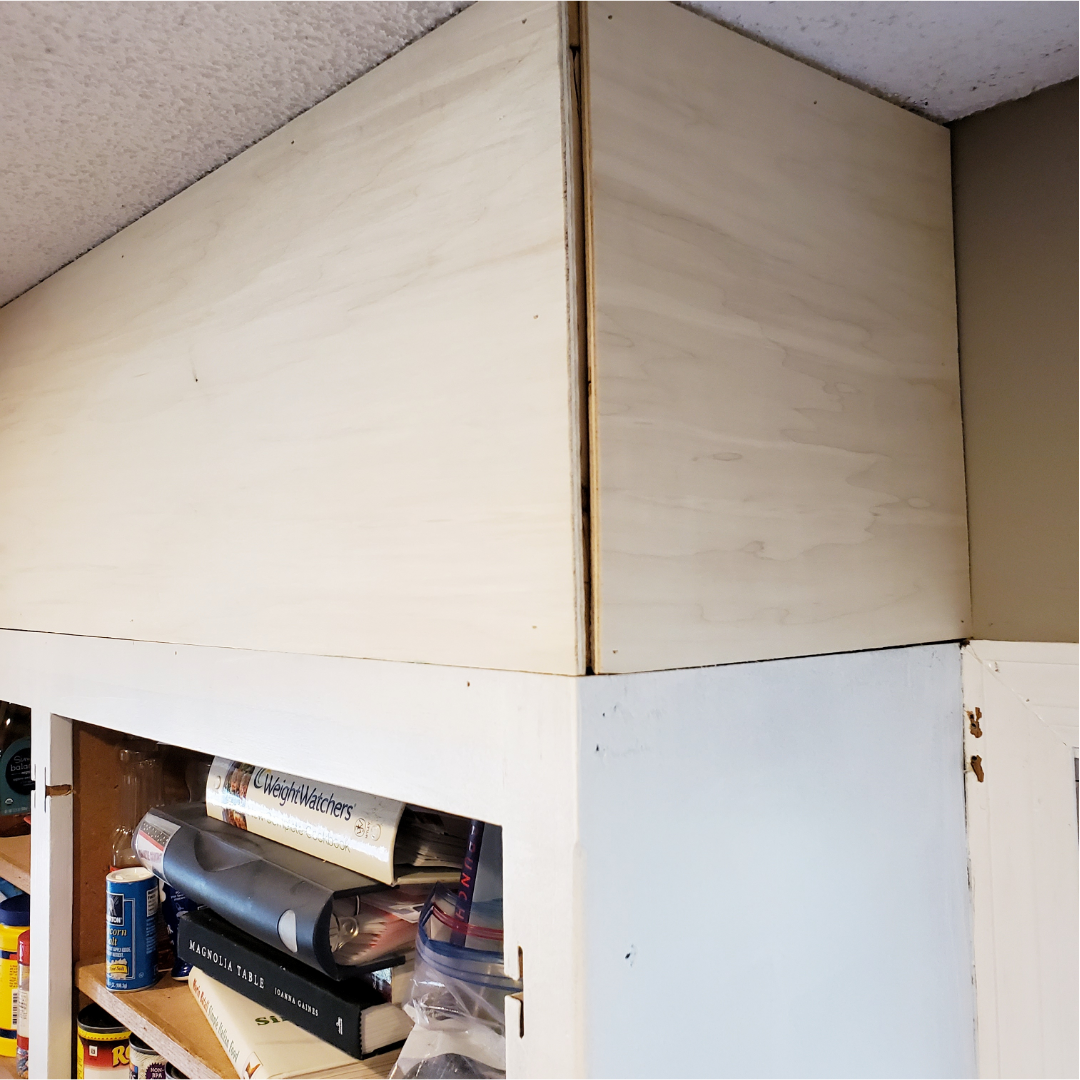
4. Plywood Install
Your measurement doesn't need to be exact, it can be spaced away from the top, bottom, and corners since you'll be covering it with molding.
- Using your cabinet to ceiling measurement, rip your plywood down using a table saw.
- Cut the plywood to length.
- Install using your nail gun and nail across the top, and at your 16″ supports.
5. Molding
All of your angles will most likely be 45 degrees. However, if you have an angled corner cabinet, you'll need to figure out the angle to cut your molding.
Crown molding can be tricky because you need to make sure the right side is up and that you have it flush on your saw before you cut it.
If you have complicated angles or really fancy molding I suggest using a Kreg Crown tool.
- Cut your crown molding to length and nail at the 16″ vertical support locations.
- Then do the same with the transition molding between the cabinetry and the new filler.
6. Finishing
- Caulk all of the seams between your moldings, cabinet, and wall.
- Fill all nail holes and any gaps in the molding with wood filler.
- Once it's all dry, sand the plywood and any perfections.
- Prime
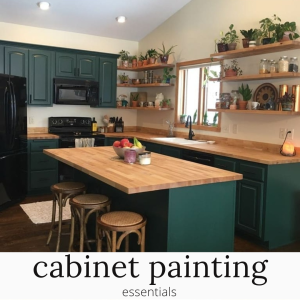
- Paint — follow all of my steps in me eBook, How to Paint Cabinetry
SHOP THIS POST


PIN FOR INSPIRATION

